Installation
Install HACS
If you have not yet installed HACS, go get it at https://hacs.xyz and walk through the installation and configuration.
Install the OCPP Repository
In Home Assistant, select HACS / Integrations / + Explore & add repositories.

Search for ‘OCPP’ and install the repository.
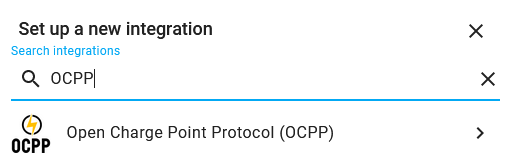
Add the OCPP Integration
In Home Assistant, select Configuration / Integrations / Add Integration.

Search for ‘OCPP’ and add the integration.
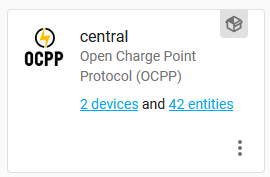
Configure the Central System
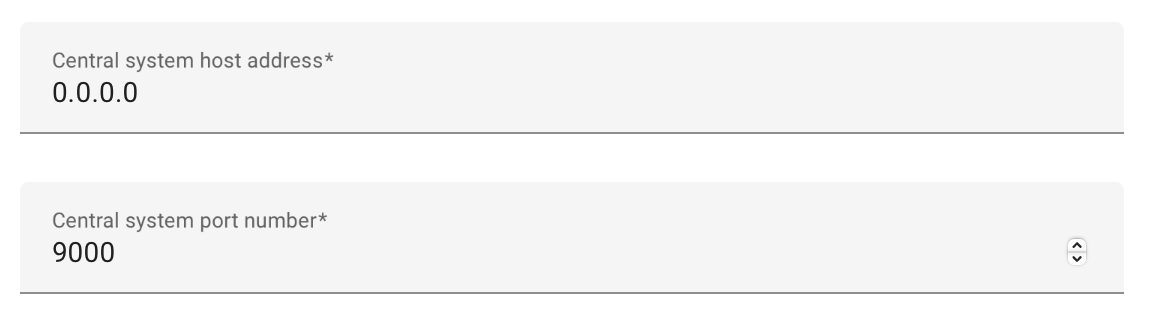
Host address and port
The default host address ‘0.0.0.0’ will listen to all interfaces on your home assistant server.
The default port number is 9000 but can be changed for your needs.
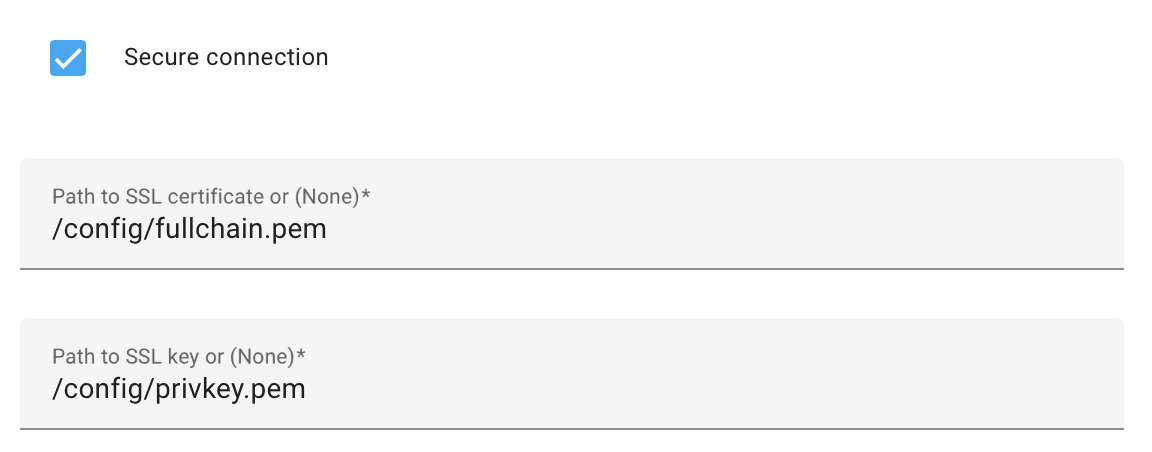
Secure Connection
If you are using Let’s Encrypt, Duck DNS or other add-on that enables secure HTTPS for your Home Assistant instance, you can get a secure WSS connection for OCPP. To use a secure connection:
Enable the option Secure connection
Provide the pathways to your HA’s SSL certificate and key files. These are typically located in the /config or /ssl folder, and typically named fullchain.pem and privkey.pem respectively.
If you provide incorrect pathways, the integration will fail to setup with no clear indication of why.
If you do not use HTTPS for your Home Assistant instance:
Disable the option Secure connection
Path to SSL certificate/key will be ignored.
Measurands
Most chargers only support a subset of all possible measurands. This depends most on the Feature profiles that are supported by the charger.
The integration will autodetect the supported measurands when the charger connects. This can be disabled for chargers that do not support autodetection.
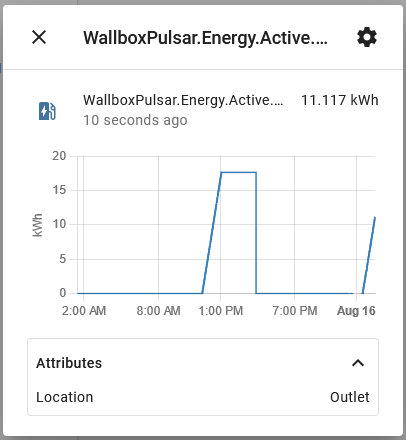
Add the entities to your Dashboard
On the OCPP integration, click on devices to navigate to your Charge Point device.
At the bottom of the Entities panel, click on ‘Add to Lovelace’ to add the entities to your dashboard.
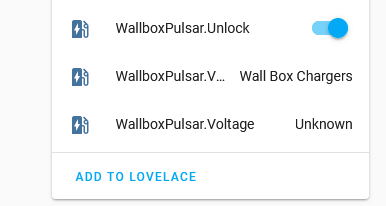
An entity will have the value ‘Unavailable’ until the charger successfully connects.
An entity will have the value ‘Unknown’ until its value has been read from the charger.
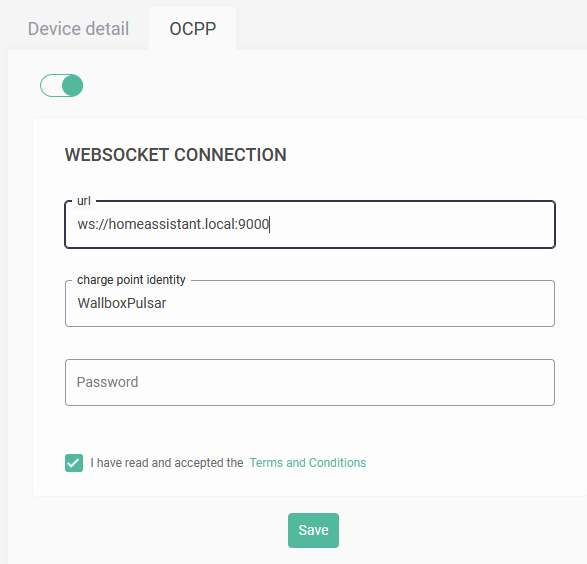
Configure your Charger
Configure your charger to use the OCPP websocket of your Central System (e.g. ws://homeassistant.local:9000). This is charger specific, so consult your manual.
Some chargers require the protocol section ‘ws://’ to be removed, or require the url to end with a ‘/’.
If you have configured Secure connection in previous step, you should use ‘wss://’
Some chargers require the url to be specified as an IP address, i.e. ‘192.168.178.1:9000’
You may need to reboot your charger before the changes become effective.
If your charger has multiple connectors, wait until the charger device has populated its data (e.g., the Connectors sensor). Then reload the integration. A separate device will be created for each connector, and you’ll find all connector-specific entities there.
Start Charging
Use the charge control switch to start the charging process.